Every year hundreds of millions of people around the world take part in Earth Hour. For 60 minutes people in more than 7,000 cities in over 190 countries switch off their lights as a symbolic gesture of solidarity to show they care about our planet and its future.
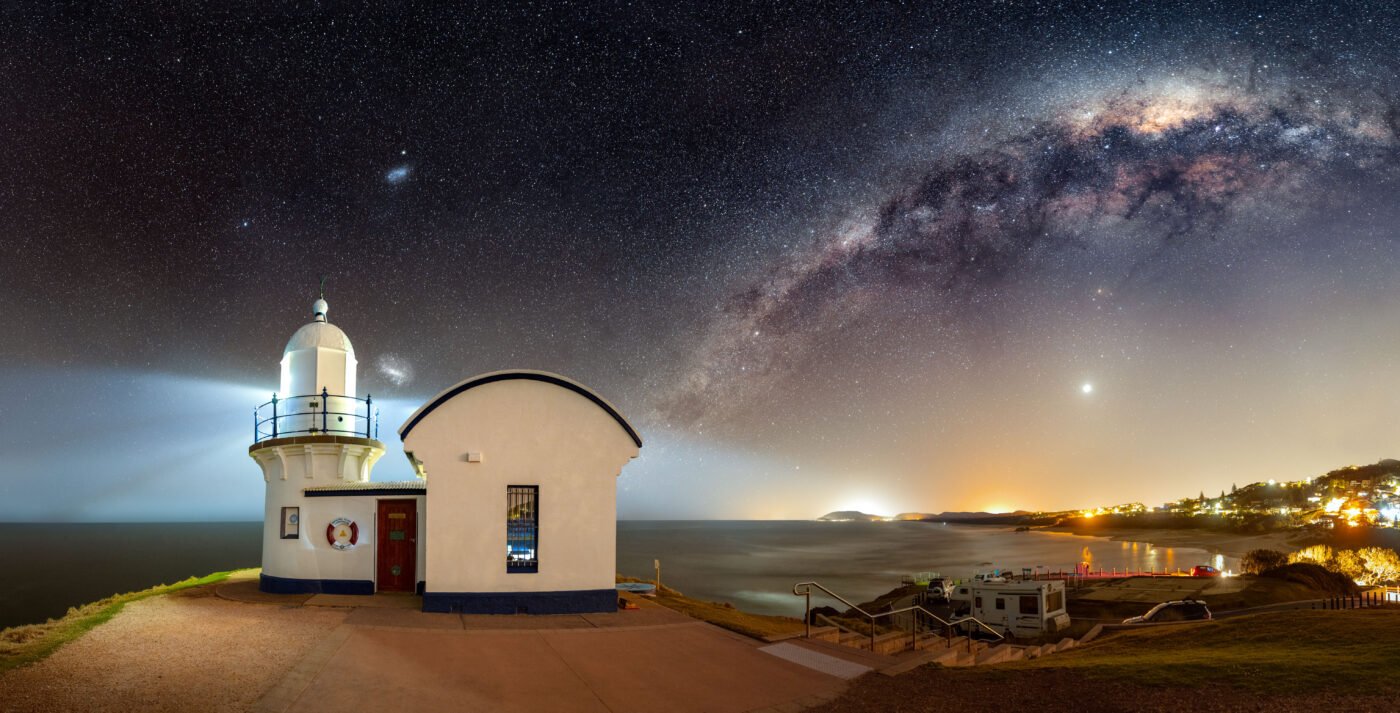
On Saturday 25th March between 8:30 and 9:30pm, when the lights are switched off, people can witness the true beauty of the night sky and spark conversations on the impacts of climate change and inspire positive action to protect our natural world. Who better than an expert night photographer to help us understand and experience this moment?!
Will Eades, an Australian Nikon Creator who is an award-winning storm and nature photographer and creative, has shared his top tips for capturing the perfect shot of the starry sky in celebration of Earth Hour, to ensure Aussies don’t miss out on this opportunity.
1. Scout good foreground elements
This could be anything from mountains, a lake, a local monument, or your own house. This is simple with apps like ’Sky Guide’ to help you plan your composition. I also use ‘Windy’ to predict how clear the night will be. Take advantage of the dark skies during Earth Hour and shoot some of your favourite landmarks with the stars above.
2. Focus on your equipment set-up
When setting up, you want to mount your camera on a sturdy tripod, obtain focus and then turn autofocus off before you begin shooting. A tip for obtaining focus is to use the autofocus ability in your camera to lock onto a bright star, like Sirius or Canopus, then turn off autofocus before taking your shot.

3. Use a fast lens
For best results in making those stars stand out even more, use a fast lens with a low f-stop – f/2.8 and f/1.8 give amazing results for astrophotography with their superior light gathering abilities. Stopping down on an f/1.8 lens to f/2.0, or f/2.2 will reduce vignetting.
4. Get creative with lenses and try different focal lengths
Shooting with an ultra-wide lens will capture more of the sky and show good details of the Milky Way. I use the NIKKOR Z 14-24mm f/2.8 S and the NIKKOR Z 20mm f/1.8 S for the majority of my Milky Way images. I’m also excited to try the new NIKKOR Z 26mm 2.8 pancake for astrophotography too – I think it will surprise a lot of people with its versatility. To get in closer with some more detail, try shooting with a fast 50mm like the Z 50mm f/1.8 S lens, or the Z 50mm f/1.2S.

5. Shutter speed matters
With exposure settings, a shutter speed of 20 seconds or more is preferred to really pull out the light and colours of the night sky. Anything longer and you may start to see star trails as the earth rotates on its axis. ISO should be high to capture the faint light of the stars. I would recommend ISO4000 or higher on a standard tripod set up, and ISO800 – ISO1600 on a star tracker mount.
6. Hunt for features of the night sky that might usually be obscured by light pollution
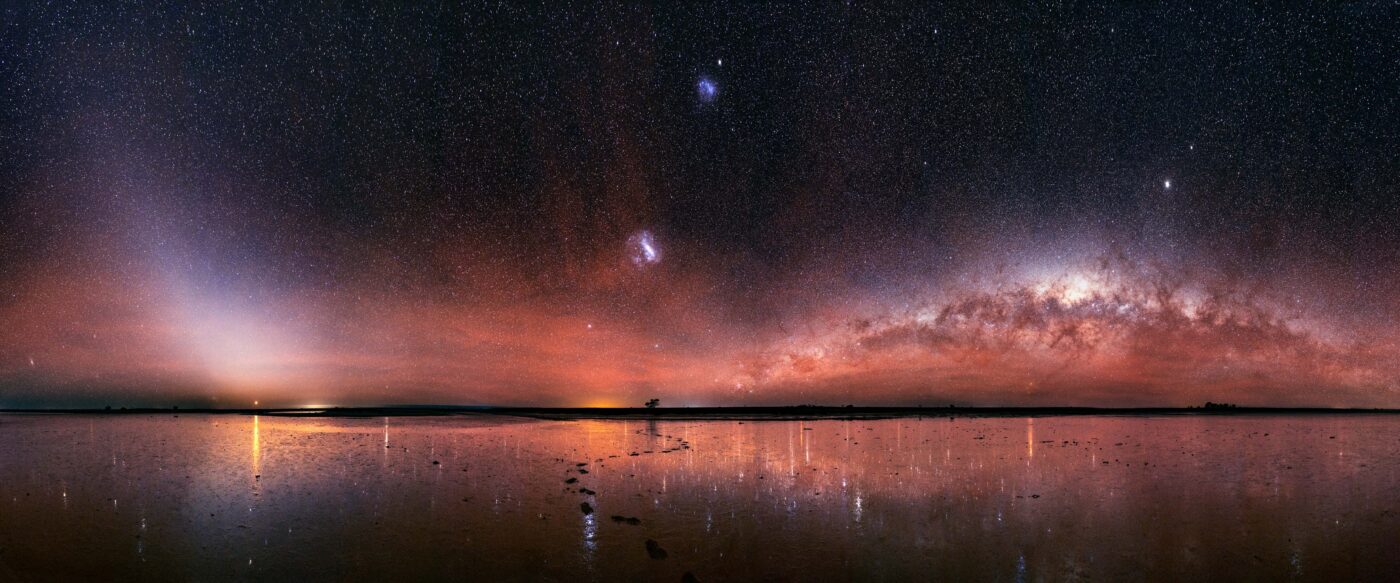
This could be the core of the Milky Way, or something harder to find, like the Zodiacal Light, a faint glowing beam of diffuse sunlight scattered by interplanetary dust. Apps like Sky Guide will show you where to look for these targets.

7. Try your luck at M42 – the Orion Nebula
This beautiful region of the night sky is perfect for a telephoto lens 300mm – 600mm. At this focal length, you’ll have to drop your shutter speed much lower to avoid star trails. Try 3-6 seconds and boost your ISO sky high to see what is hidden. Taking multiple images of the Orion Nebula and stacking them with post processing software will also bring out much more colours and details.


